THE LAB #12: Reverse-engineering Mobile API
A step by step guide with Charles Proxy and Android Emulator
This post is sponsored by Smartproxy, the premium proxy and web scraping infrastructure focused on the best price, ease of use, and performance.
In this case, for all The Web Scraping Club Readers, using the discount code WEBSCRAPINGCLUB10 you can save 10% OFF for every purchase.
This article is written by Fabien Vauchelles, the Anti-Ban Expert at Wiremind - a leading revenue management solutions provider for the transportation, supply chain, and event sectors. With over a decade of experience in web scraping, Fabien's passion for code and technology is unmatched. He is the mastermind behind Scrapoxy - a cloud-based proxy rotation tool - and is now working on the highly anticipated version 4.
When we try to scrape a site and struggle to retrieve the data, we often forget that there is also a mobile app. According to Brazilian researcher Tiago Bianchi, about 59% of internet traffic is mobile. So, why not take advantage of this? And most of the time, mobile app APIs are less protected than websites.
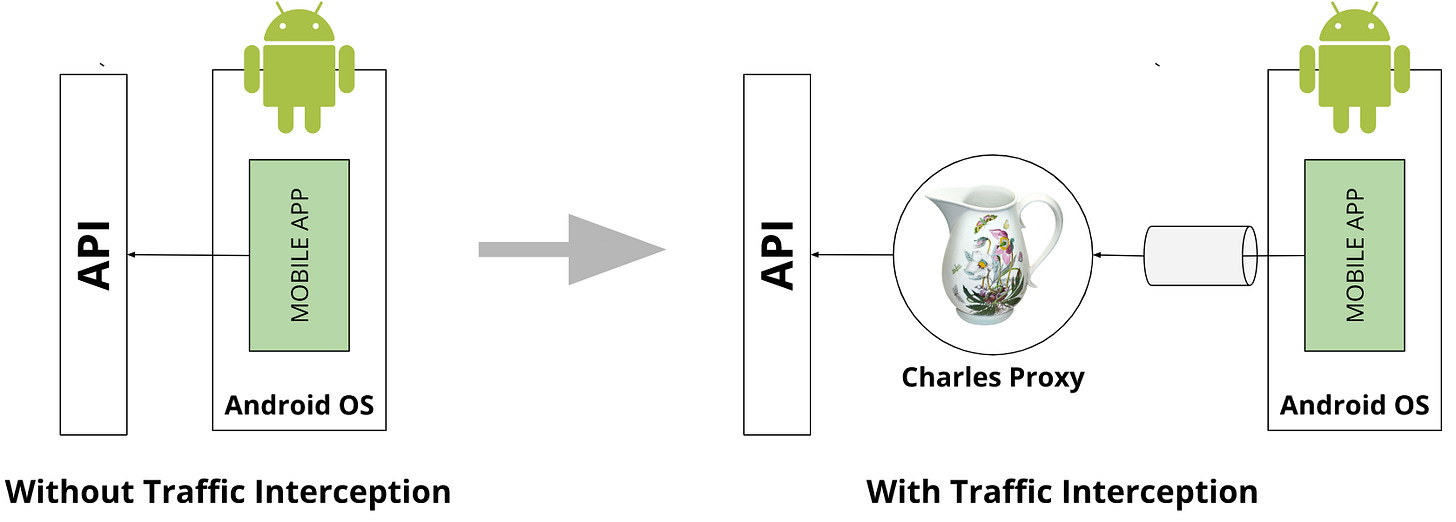
In this article, we will focus on android app analysis. We will use the Android Studio IDE, which includes an emulator. We will connect Charles proxy, a software specialized in HTTP and HTTPS protocol analysis. It is extremely useful for designing or analyzing web and especially mobile applications. It even offers a root certificate to bypass SSL Pinning. Charles is an alternative to Fiddler, which Pierluigi presented in the first lab article.
Our environment is Ubuntu 22.04.
Part A: Setup of Charles
Note: We will use the Charles free trial, limited in usage time, which is more than enough for our needs.
Step 1 : Get Charles Proxy
Add the package from sources:
$ wget -q -O - https://www.charlesproxy.com/packages/apt/PublicKey | sudo apt-key add -
$ sudo sh -c 'echo deb https://www.charlesproxy.com/packages/apt/ charles-proxy main > /etc/apt/sources.list.d/charles.list'
$ sudo apt-get update
$ sudo apt-get install charles-proxy
Step 2: Enable SSL Proxying
Start Charles and open the menu Proxy > SSL Proxying Settings:
Click on Enable SSL Proxying and add a location *:*
Step 3: Download Charles certificate
Open the menu Help > SSL Proxying > Save Charles Root Certificate…, and save the certificate on your disk.
Step 4: Rename the certificate
The certificate cannot be used as is as a system certificate. We need to rename the file to match the format <hash>.0.
Let’s compute the hash:
$ openssl x509 -inform PEM -subject_hash_old -in charles-ssl-proxying-certificate.pem | head -1Our hash is 4fe145fd. We need to rename the file :
$ mv charles-ssl-proxying-certificate.pem 4fe145fd.0Let's keep this certificate handy, we'll use it again later.
Step 5 : Find your local IP
Open the menu Help > Local IP address:
And remember your IP address !
For me, I always use my internal docker address because it never changes (here: 172.17.0.1)
Part B: Setup of an Android image
We will install Android Studio and create an image.


